Private Email Setup in Outlook for iOS
This guide provides instructions on how to set up your email in Outlook on an iOS device.
Step 1. Open Outlook on your device.
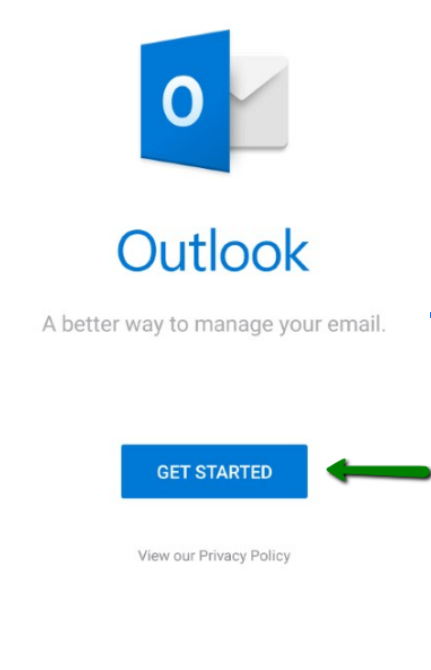
Step 2. If this is your first account, click on the GET STARTED button, and type in your email address:
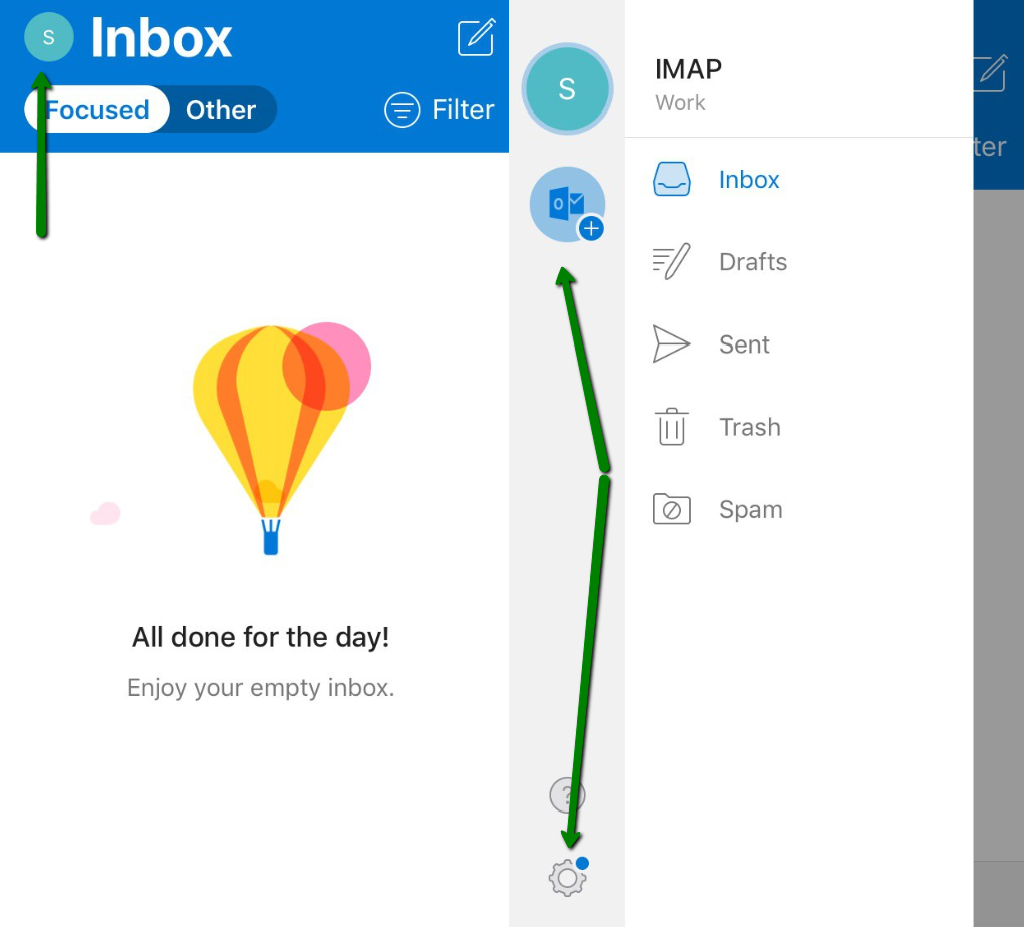
NOTE: If you’ve already added your email account to Outlook, click on the Admin sign in the upper left-hand corner and select the Add Account icon. Alternatively, you can go to Settings >> Add account option:
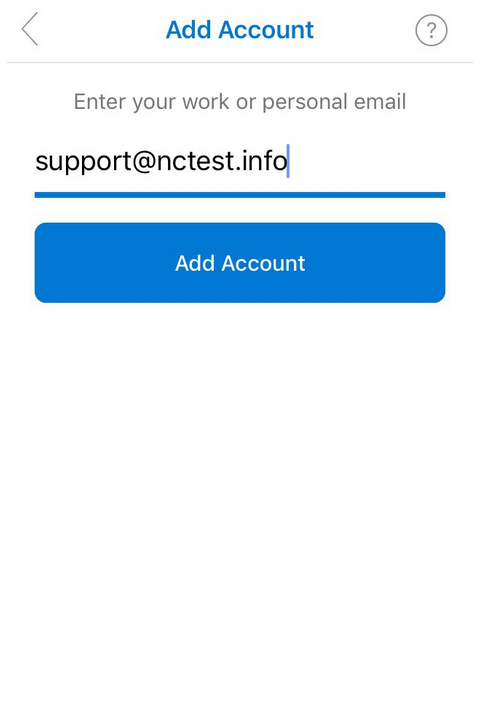
Step 3. Type the full email address of the email account you want to add (we’re using support@nctest.info as an example) and press Add Account:
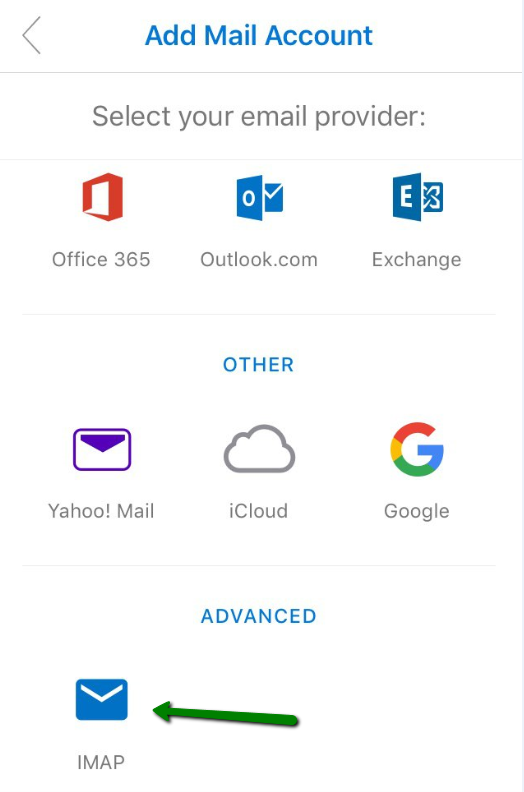
Step 4. You will then be redirected to the Select your email provider page where you’ll be required to choose IMAP:
IMPORTANT: Outlook for iOS doesn't support POP3 accounts.
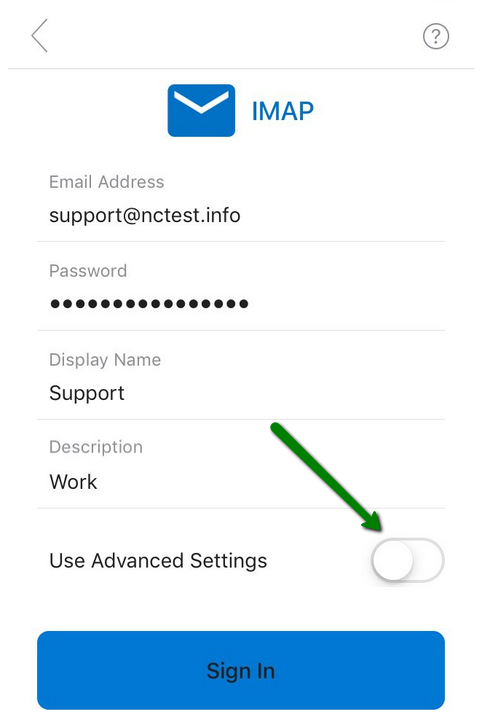
Step 5. On the next page, please fill in the required details:
- Password: the password for the email account.
- Display Name: the recipients will see it as the sender's name.
- Description: the description of your email account (only you will see this).
Now select Use Advanced Settings:
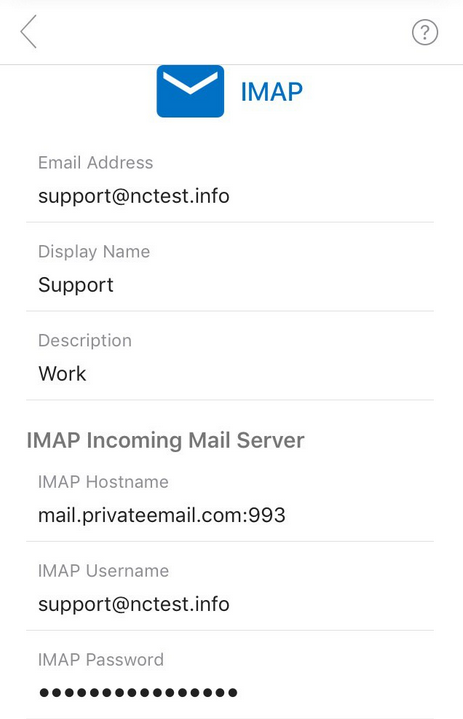
Now you’ll need to enter the IMAP settings:
IMAP Incoming Mail Server:
- IMAP Host Name: mail.privateemail.com:993 for SSL.
- IMAP Username: your full email account (for example, support@nctest.info).
- IMAP Password: the password for the mailbox.
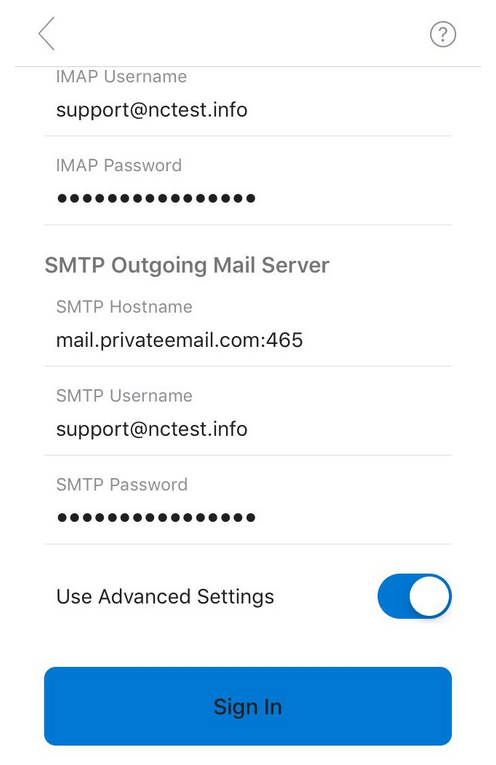
SMTP Outgoing Mail Server:
- SMTP Host Name: mail.privateemail.com:465 for SSL.
- SMTP Username: your full email account (for example, support@nctest.info).
- SMTP Password: the password for the mailbox.
Double-check all the settings, then click Sign In:
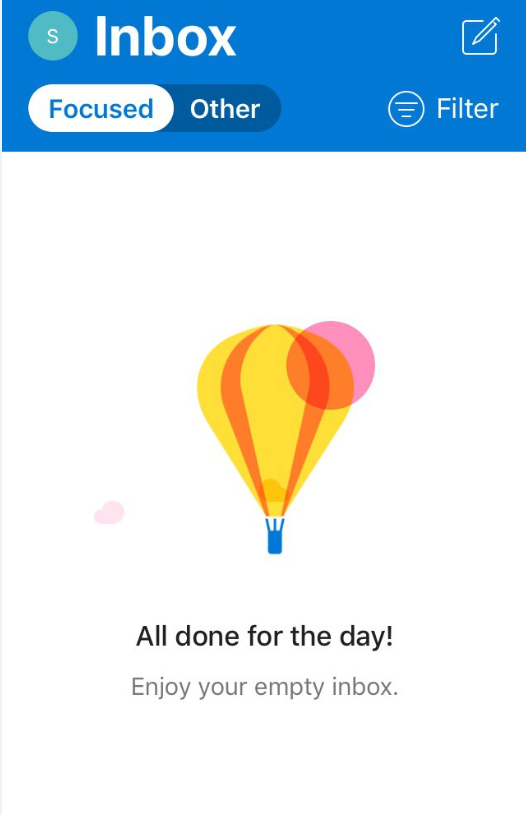
Step 6. Congrats, the setup is finished! You can now start managing your Private Email account in Outlook:
this is it!
